Need help in using our WordPress theme?
This guide covers the basic tasks a user may carry out when using the built-in menu editor.
To make a simple menu, follow the steps:
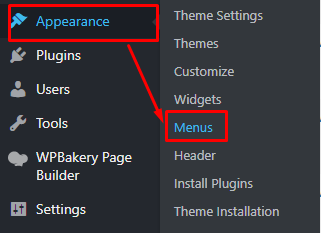
Step 1 - Navigate your Dashboard to Appearance > Menus. The Menus page will show.
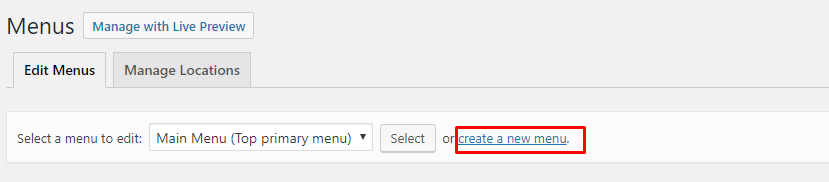
Step 2 - In the menus page, you can edit a menu or make a new menu. To make a new menu, locate create a new menu.
Step 3 - You will be ask to name your menu. After naming the menu, click Create Menu.
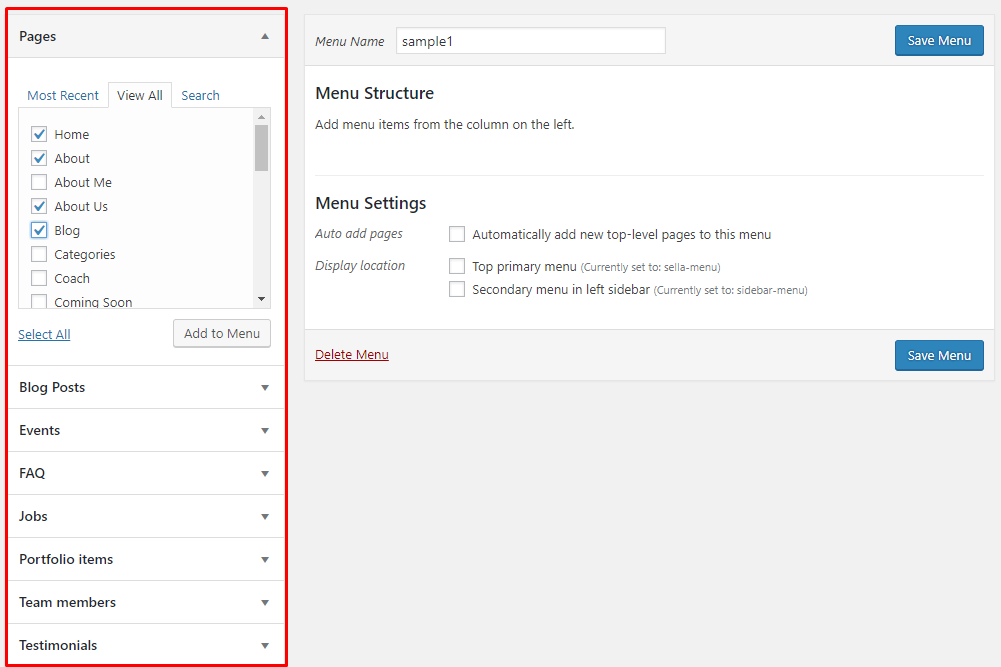
Step 4 - From the right side choose pages, links, or categories that you want to add to your menu and click on Add to Menu. Once menu items are added, you can reorder or nest them via drag and drop tool. Remember to click Save Menu when you finish to keep your changes saved.
Step 5 - You can set a menu as a Left primary menu or Right primary menu. Visible on the top of the page.

- Left primary menu
- Right primary menu

Step 6 - After any changes, click on Save Menu button.
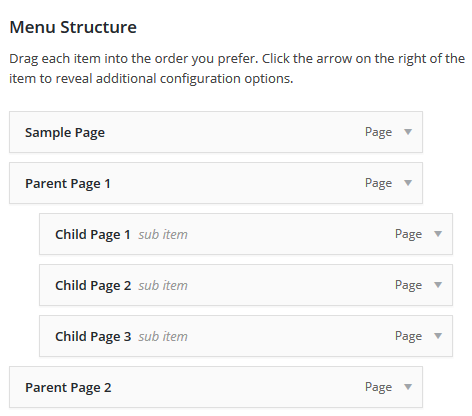
When planning the structure of your menu, it helps to think of each menu item as a heading in a formal report document. In a formal report, main section headings (Level 1 headings) are the nearest to the left of the page; sub-section headings (Level 2 headings) are indented slightly further to the right; any other subordinate headings (Level 3, 4, etc) within the same section are indented even further to the right.
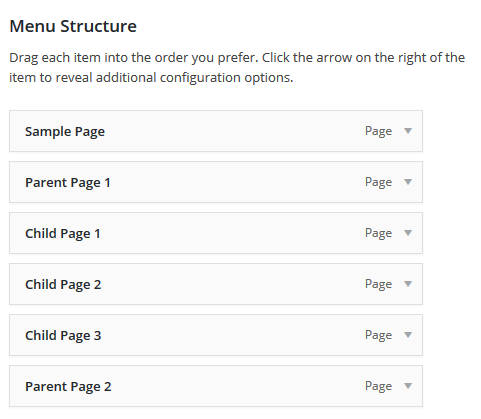
The WordPress menu editor allows you to create multi-level menus using a simple ‘drag and drop’ interface. Drag menu items up or down to change their order of appearance in the menu. Drag menu items left or right in order to create sub-levels within your menu.
To make one menu item a subordinate of another, you need to position the ‘child’ underneath its ‘parent’ and then drag it slightly to the right.
Position the mouse over the ‘child’ menu item.
While press and holding the left mouse button, drag it to the right.
Release the mouse button.
Repeat these steps for each sub-menu item.
Click the Save Menu button in the Menu Editor to save your changes.