Need help in using our WordPress theme?
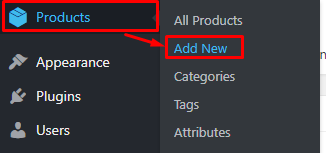
To create a new Products item, navigate in WordPress Dashboard to Products > Add New.
|
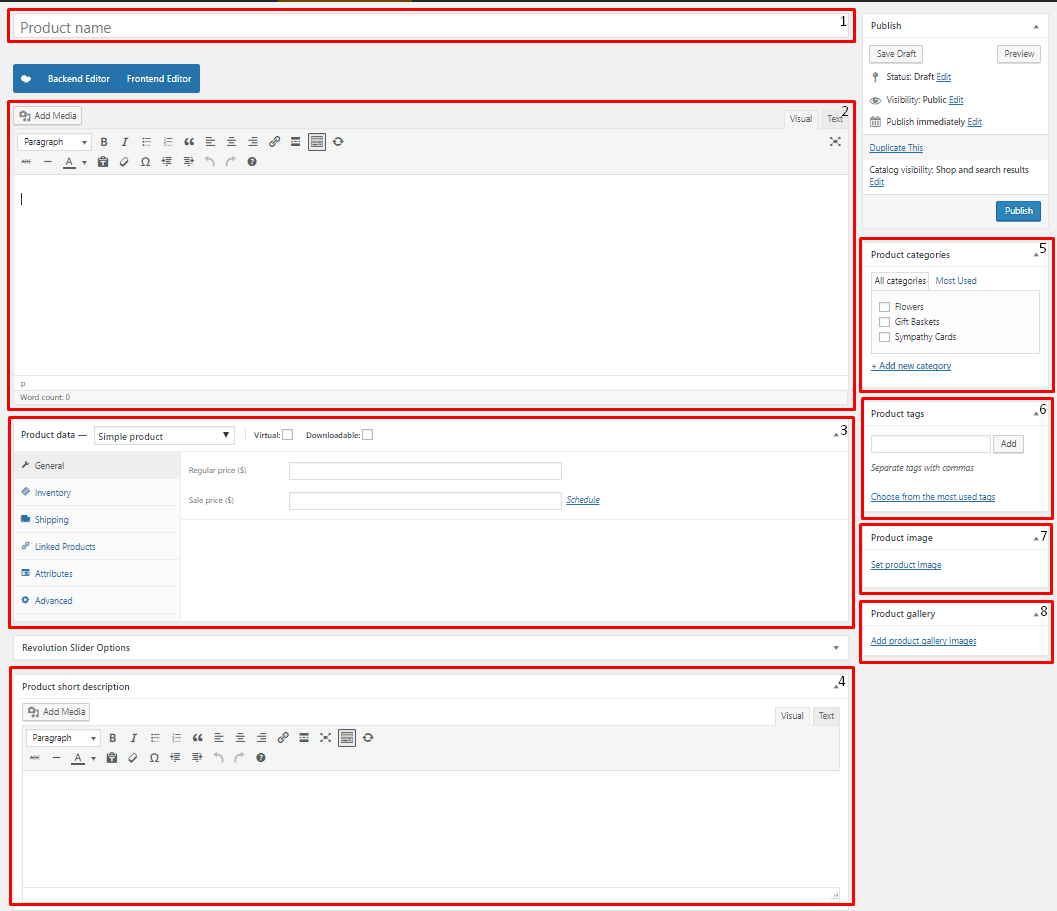
The Add new product page will show. Add the details for the Products.
|
Title - The name of the Products.
Editor container - You can add here the role of the Products that will be shown in the website.
Product data
General Tab - Information about the Products is added at this part.
- Regular price ($) - Actual price of the product.
- Sale Price ($) - Price of the product when on sale.
Inventory Tab -
- SKU - (Stock Keeping Unit)
- Manage stock? - - Stock status -
- Sold individually -
Shipping Tab -
- Weight (kg) -
- Dimensions (cm) -
- Shipping class
Linked Products Tab -
- Upsells -
- Cross-sells -
Attributes Tab -
Advanced Tab -
- Purchase note -
- Menu order -
Product short description - Text beside the image for the product.
Product categories - A broad detail that can categorize this product with other product.
Product tags - Specific details that can be use to group this product with other product.
Product image - Products picture that will be shown in the site.
Product gallery - Images to add for the gallery of the product.
After adding all the details, click on Publish button to save.
To delete a Product, navigate your Dashboard to Products > All Products
In the Products page, you will see all the created Products.
To delete a Product, you have two options:
Single Product Delete - Hover your mouse pointer on the Product that you would like to delete. You will see a Trash option pop-up. Click on Trash to delete.
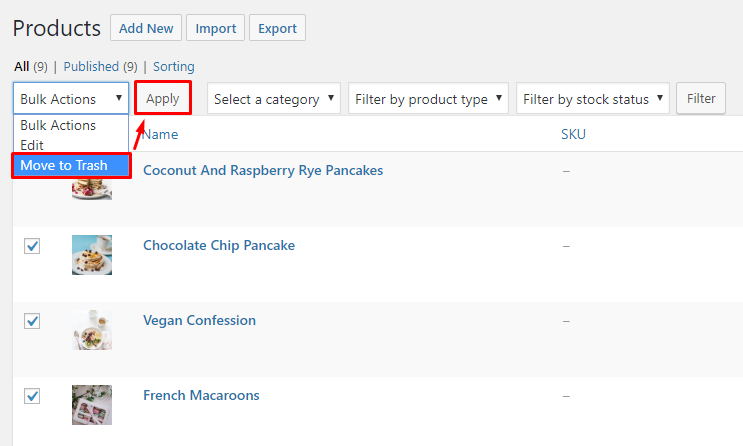
Multiple Products Delete - To delete multiple Products, click on the box beside the Product you would want to delete. Then click on the drop-down box for Bulk Actions and choose the Move to Trash option. Click on Apply button to delete.
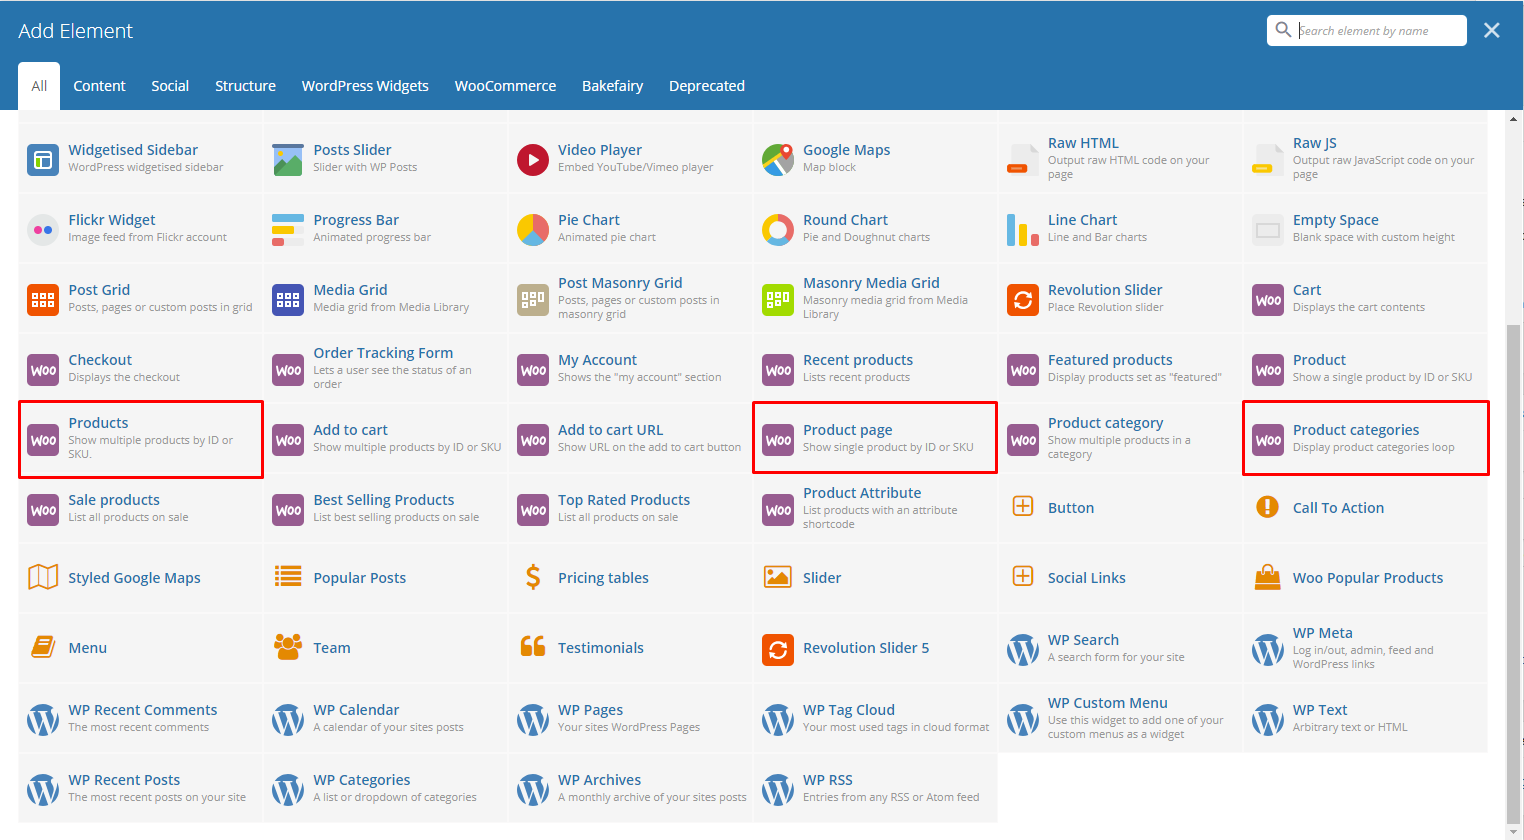
To add Products to a page, an element in the Visual Composer is used: Product page, Products, or Product Category
|
These elements will let you set the item to display in the page together with other elements.
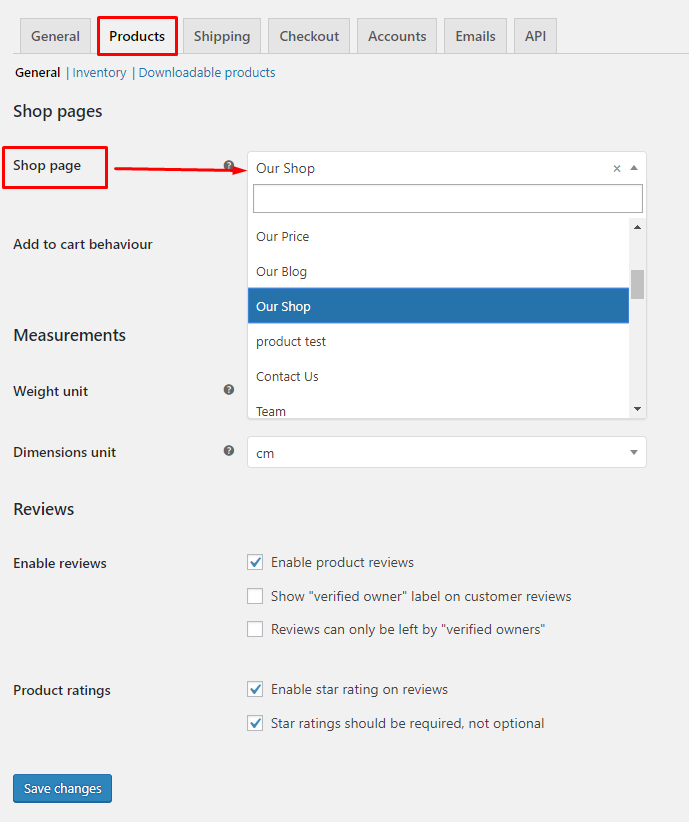
You can also set a page to be the Products Archive page, go to WooCommerce > Settings.

|
In the Products tab, look for Shop Page and choose the page you want to use as the Product’s page then click on Save Changes button.
|